
Bathroom Heat Lamp Installation in Frankston
Heat, light and exhaust in one ceiling fitting. Like-for-like replacements or a new unit where there’s only ever been a light, with the exhaust ducted outside and a fixed price before we start.
- 4.9 Google Rating
- Licensed & insured
- Straight swaps Often same week
- Supply your own unit No problem
- Certificates COES supplied
Heat, light and exhaust in one fitting, done properly
A 3-in-1 unit puts heat lamps, a light and an exhaust fan into one ceiling fitting, which is why it’s the most common thing we’re asked to put in a bathroom. Replacing an old unit like for like is usually simple. Fitting one where there’s only ever been a light can mean new cabling, extra switching and a duct run that doesn’t exist yet.
We install and replace bathroom heat lamps across Frankston and the south-east, in existing bathrooms and renovations, with the exhaust ducted to an eave or roof vent rather than into the roof space. You can supply your own unit or we can supply one to suit the room.
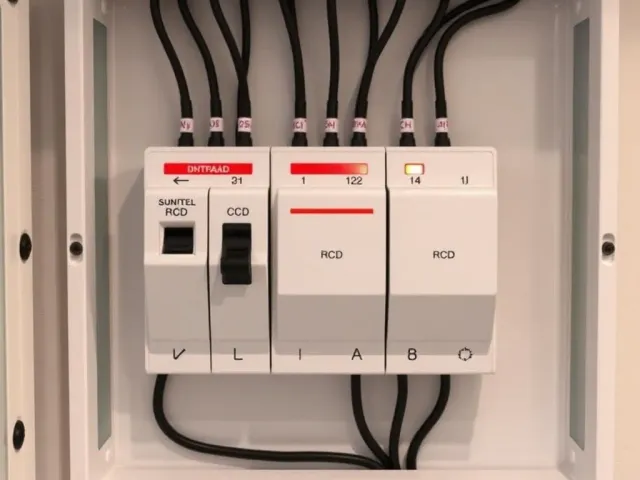
Bathrooms are wet areas, so the fitting has to be correctly zoned and rated for the location, and the circuit needs working RCD protection. We check both before we sign off.
What's in a heat lamp installation
-
Isolation
We isolate the circuit and test that it's safe before the old unit comes down.
-
Old unit out
Removed, and taken away for disposal if you’d like, with the ceiling cut-out checked against the new unit.
-
Mounting & clearance
Fixed to the ceiling framing, with insulation and timber kept clear of the heat lamps to the manufacturer’s clearances.
-
Ducting
Exhaust ducted to an eave or roof vent, never into the roof cavity, so the moisture actually leaves the house.
-
Switching
Separate wall switches for heat, light and fan where the wiring allows, or a like-for-like swap onto your existing switch.
-
Test & certify
Circuit tested, RCD verified, unit run up in front of you and the certificate issued.
Installs we do most
Six heat lamp jobs cover most of what we’re called out for.
-
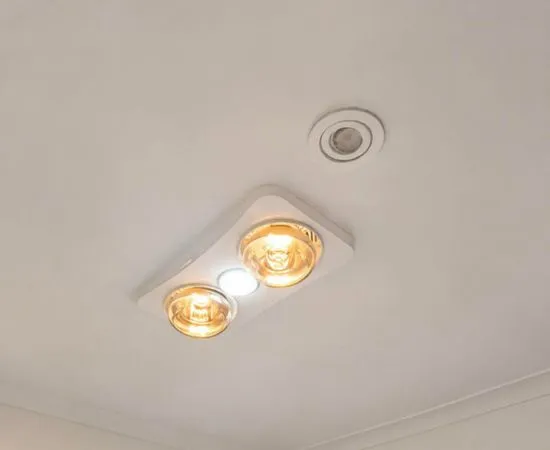
Like-for-like replacements
The old unit has yellowed, the lamps keep blowing or the fan has given up. Usually the simplest job of the lot.
- Existing ceiling point and switching reused where they’re sound
- New unit matched to the existing cut-out where possible
- Ducting checked, and connected outside if it never was
- Old unit removed and disposed of
-
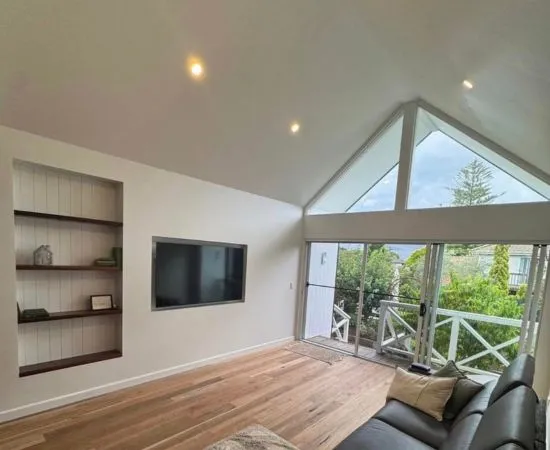
New unit where there’s only a light
The existing light point can often be used for the new unit, but the heat and fan usually want more than one switch wire.
- Existing light point reused for the light where it suits
- Extra switch drop run for independent heat and fan control
- Circuit checked against the load of the heat lamps
- Duct run planned to the nearest eave or roof vent
-
Ducting the exhaust outside
A surprising number of bathroom fans in older homes vent straight into the roof cavity, which just moves the moisture somewhere you can’t see it.
- Duct run to an eave or roof vent, never left in the roof space
- Vent fitted at the eave or through the roof, sealed against the weather
- Existing duct checked for kinks, splits and blockages
- Run kept as short and straight as the roof allows
-
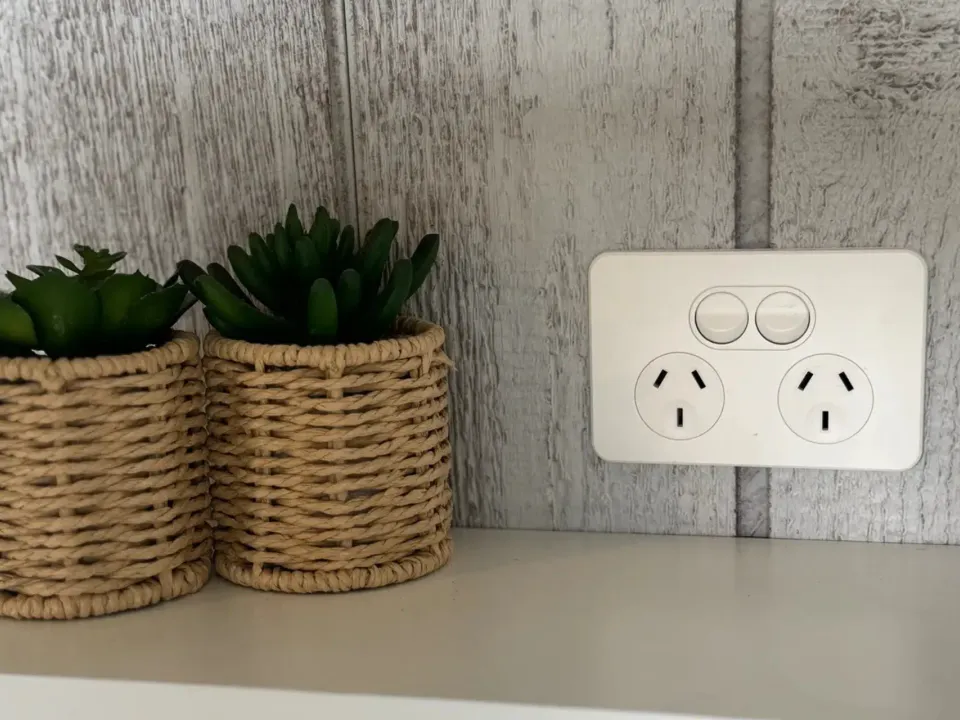
Wall switch options
Heat, light and fan on their own switches means you’re not running the heat lamps every time someone turns the light on.
- Three-gang switch plate for heat, light and fan
- Fan switched with the light where you’d rather it just work
- Existing switch position kept, or moved to where it makes sense
- Switch labelled so guests can tell which is which
-
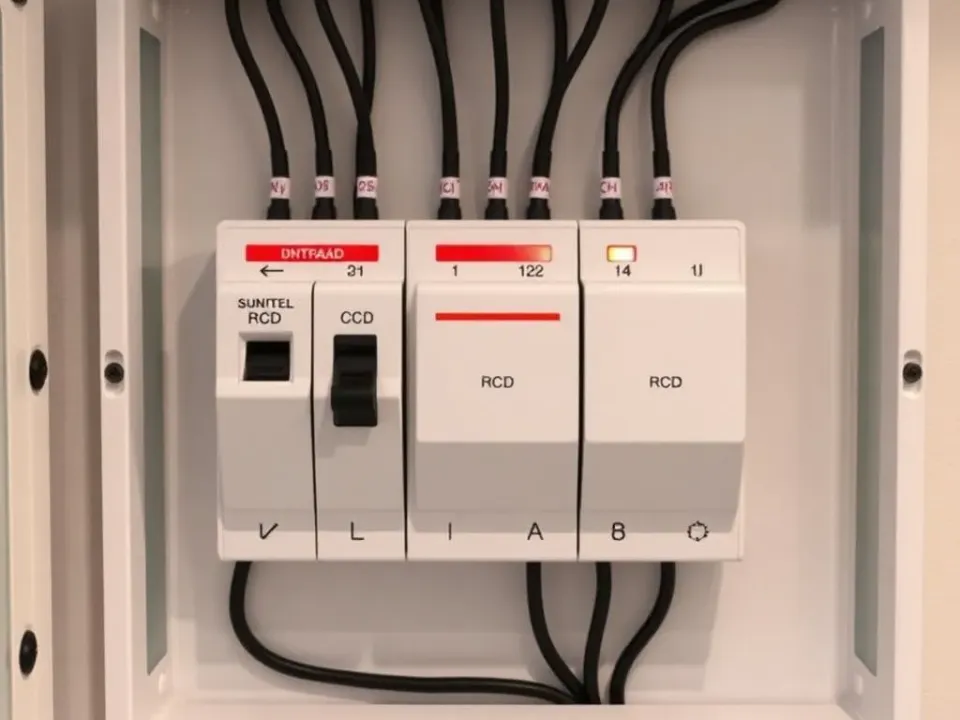
Circuit and RCD protection
Heat lamps draw a lot more than the light fitting they replace, and a bathroom is the one room where RCD protection has to be certain.
- Existing circuit checked against the load of the new unit
- Own circuit run from the board where it’s needed
- RCD protection confirmed, or a safety switch added first
- Trip time verified before we sign off
-
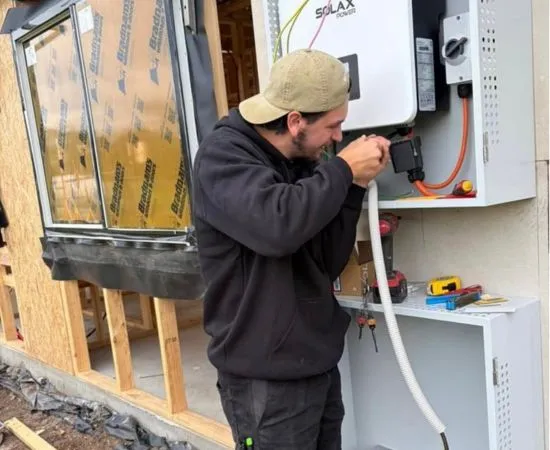
Renovations and new bathrooms
Set out at rough-in, before the plaster goes on, alongside the lighting, power points and anything else the room will want.
- Unit position and duct route set out from the plans
- Switching grouped with the lighting at the door
- Fittings zoned and rated for a wet area
- Connected and tested once the ceiling is closed up
What we install to
Here’s what we include as standard, unless you’ve asked for something different.
- Wet-area rating
- Fittings correctly zoned and rated for a wet area under Australian standards
- Ducting
- Exhaust ducted to an eave or roof vent, never into the roof cavity
- Clearance
- Insulation and timber kept clear of the unit to the manufacturer’s clearances
- Mounting
- Fixed to ceiling framing, cut-out sized to the unit
- Switching
- Separate switches for heat, light and fan where the wiring allows
- Circuit protection
- RCD protection confirmed before we sign off
- Wiring rules
- Installed to the current AS/NZS 3000 wiring rules
- Certification
- Certificate of Electrical Safety issued on completion
Signs it’s time to replace the unit
Most heat lamp units are replaced for one of these reasons, and a couple of them mean the job is bigger than a swap.
- The heat lamps blow repeatedly, or the fitting has yellowed and cracked with age
- The fan rattles, hums or barely moves any air
- The mirror is still fogged twenty minutes after a shower
- The exhaust vents into the roof cavity rather than outside
- The lighting circuit has no RCD protection, which we'd fix with a safety switch installation
- The switchboard is ceramic-fuse with no spare ways, so a switchboard upgrade comes first
What's in scope
Included
- Isolation, removal and disposal of the old unit
- New unit fitted to the existing cut-out, or a new one cut to size
- Ducting to an eave or roof vent where the roof space allows access
- Wall switching for heat, light and fan
- Circuit testing and RCD verification
- Certificate of Electrical Safety
Not included
- The unit itself, unless you've asked us to supply it
- Plaster patching and painting where the old hole is larger than the new unit
- Switchboard work needed to add RCD protection or a new circuit
- Roof or eave carpentry beyond fitting the vent
How the job runs
-
Step 1: Site visit
We look at the ceiling, the roof space above it and your switchboard in person before quoting.
-
Step 2: Fixed quote
Swap, new install or ducting job, everything itemised so there are no extras on the day.
-
Step 3: Old unit out
Circuit isolated, old unit down and out, taken away if you’d like.
-
Step 4: Fit, duct & switch
New unit fixed to the framing, duct run outside, switching wired the way you asked for.
-
Step 5: Test & certify
Circuit tested, RCD verified, unit run up in front of you and the certificate issued.
Compliance and sign-off
Installing or replacing a hard-wired heat lamp unit is prescribed electrical work. It has to be done by a licensed electrician and it comes with a Certificate of Electrical Safety. Bathrooms are wet areas, so the fitting has to be correctly zoned and rated for the location, and we check the circuit has working RCD protection before we sign off, because a bathroom is the one room where you want that to be certain.
- Certificate of Electrical Safety issued in your name
- Fitting confirmed as zoned and rated for a wet area
- Circuit tested and RCD trip verified before handover
- Insulation and timber confirmed clear of the unit
- Exhaust ducting confirmed as venting outside the roof
- Manufacturer warranty paperwork handed to you on the day
Recent work
-
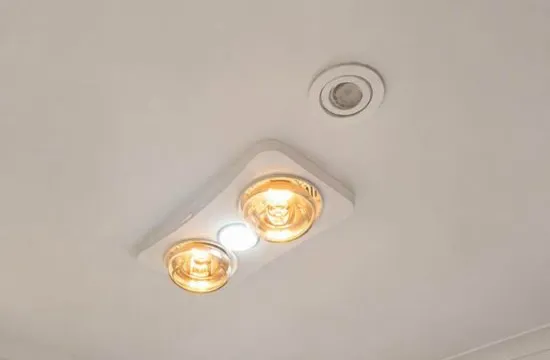
Heat lamp replacement · Frankston
-
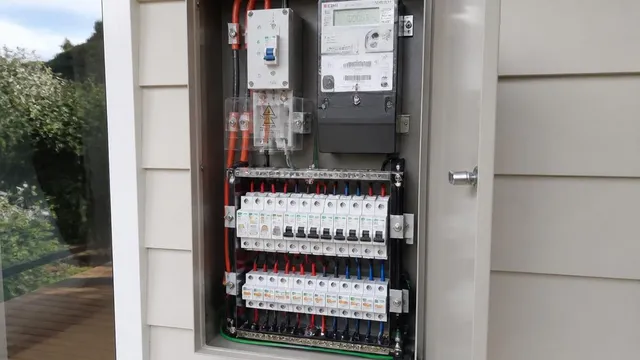
RCD added for the bathroom circuit · Langwarrin
-
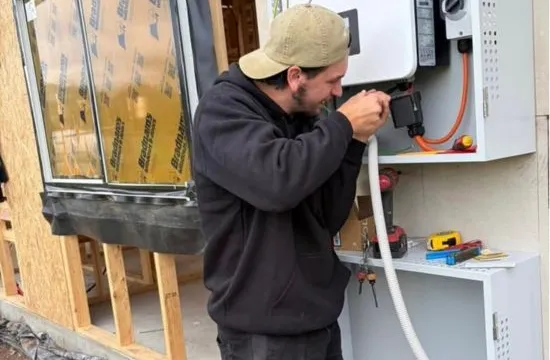
Bathroom renovation rough-in · Mount Eliza
-
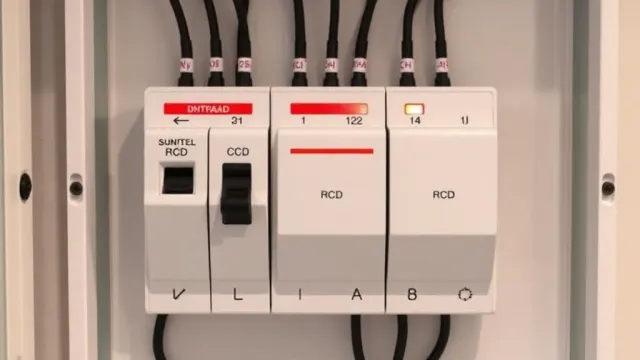
Safety switch and heat lamp together · Seaford
Why choose Streamline
-
Your unit or ours
Happy to install a heat lamp you’ve bought, just send us the model first so we check it suits the circuit.
-
Ducted outside
The exhaust goes to an eave or roof vent, not into the roof cavity, which is the part most often skipped.
-
Quoted in person
We look at the ceiling, roof space and board face to face and give you a fixed price before we start.
-
Certificate in your name
Prescribed work, done by a licensed electrician, with the paperwork to show for it.
Bathroom heat lamp installation for Frankston homes
Streamline Electrical & Data is a Frankston-based team working across the Mornington Peninsula and south-east Melbourne. A heat lamp is a small job on its own, and it tends to arrive alongside a few others in the same bathroom.
Heat lamps and exhaust fans, one fitting doing two jobs
A 3-in-1 unit is really an exhaust fan with heat lamps and a light built around it, and the exhaust half is the part that gets overlooked. The heat lamps warm you up while you dry off, but it’s the fan that stops the mirror fogging and the cornice going mouldy. That only works if the moist air leaves the house, so we run the duct out to an eave or roof vent rather than leaving it to dump into the roof space, the same way we do on a stand-alone exhaust fan.
Older bathrooms through Seaford, Frankston North and Carrum Downs
A lot of the housing through Seaford, Frankston North and Carrum Downs was wired long before anyone was putting heat lamps in bathroom ceilings. That usually means a single light point on a shared lighting circuit, one switch wire, and sometimes a board with no RCD protection and no room left. None of that stops the job, but it can change it, and we’ll tell you at the quote if the wiring or the switchboard means there’s more involved than swapping the unit.
Renovating the bathroom? Do the electrical once
If the ceiling is coming down anyway, that’s the moment to get everything set out together. The heat lamp position, the duct route to the eave, the lighting, a power point by the vanity and the switching grouped at the door. Adding it at rough-in costs a fraction of doing it afterwards, and it saves you booking the same trade twice.
When the heat lamp trips the power
A new unit that trips the safety switch is often exposing a circuit that was already marginal, or a fault the old light fitting never drew enough current to reveal. Heat lamps pull far more than a light does. It’s worth having the circuit tested properly before you send the unit back as faulty, because the unit usually isn’t the problem.